After much research online it was clear that the stock Brake Booster would suffice with this setup and that most people like the pedal feel it gives. The Master Cylinder was however in need of an upgrade. For this, I used a 1993 Mustang Cobra master as they came with 4 wheel disc from the factory. These units can be bought from your local parts store and the “D” code is what you need to give them to specify it to be the Cobra master. I believe it is the 7th character in the VIN number. The 93 Cobra Master bolts right up to your stock booster and mine even came with a new reservoir You will need to bench bleed the master prior to installation to ensure you do not get any unwanted air in your brake system.
The next component to consider is how are you going to control the fluid bias for the rear brakes. Obviously we want to take full advantage of the rear discs without having them lock up before the front brakes do. On the internet you will find lots of talk about taking your stock Proportioning valve and gutting it out to perform a “3-2 conversion”. Since the 93 Cobra master cylinder only has 2 ports on it (one for front, one for rear) the stock proportioning valve must be modified to accept the new configuration. Some people will gut their stock valve and use a T fitting to compensate for the extra line and then install an adjustable proportioning valve at the firewall where the coupling is found from factory.
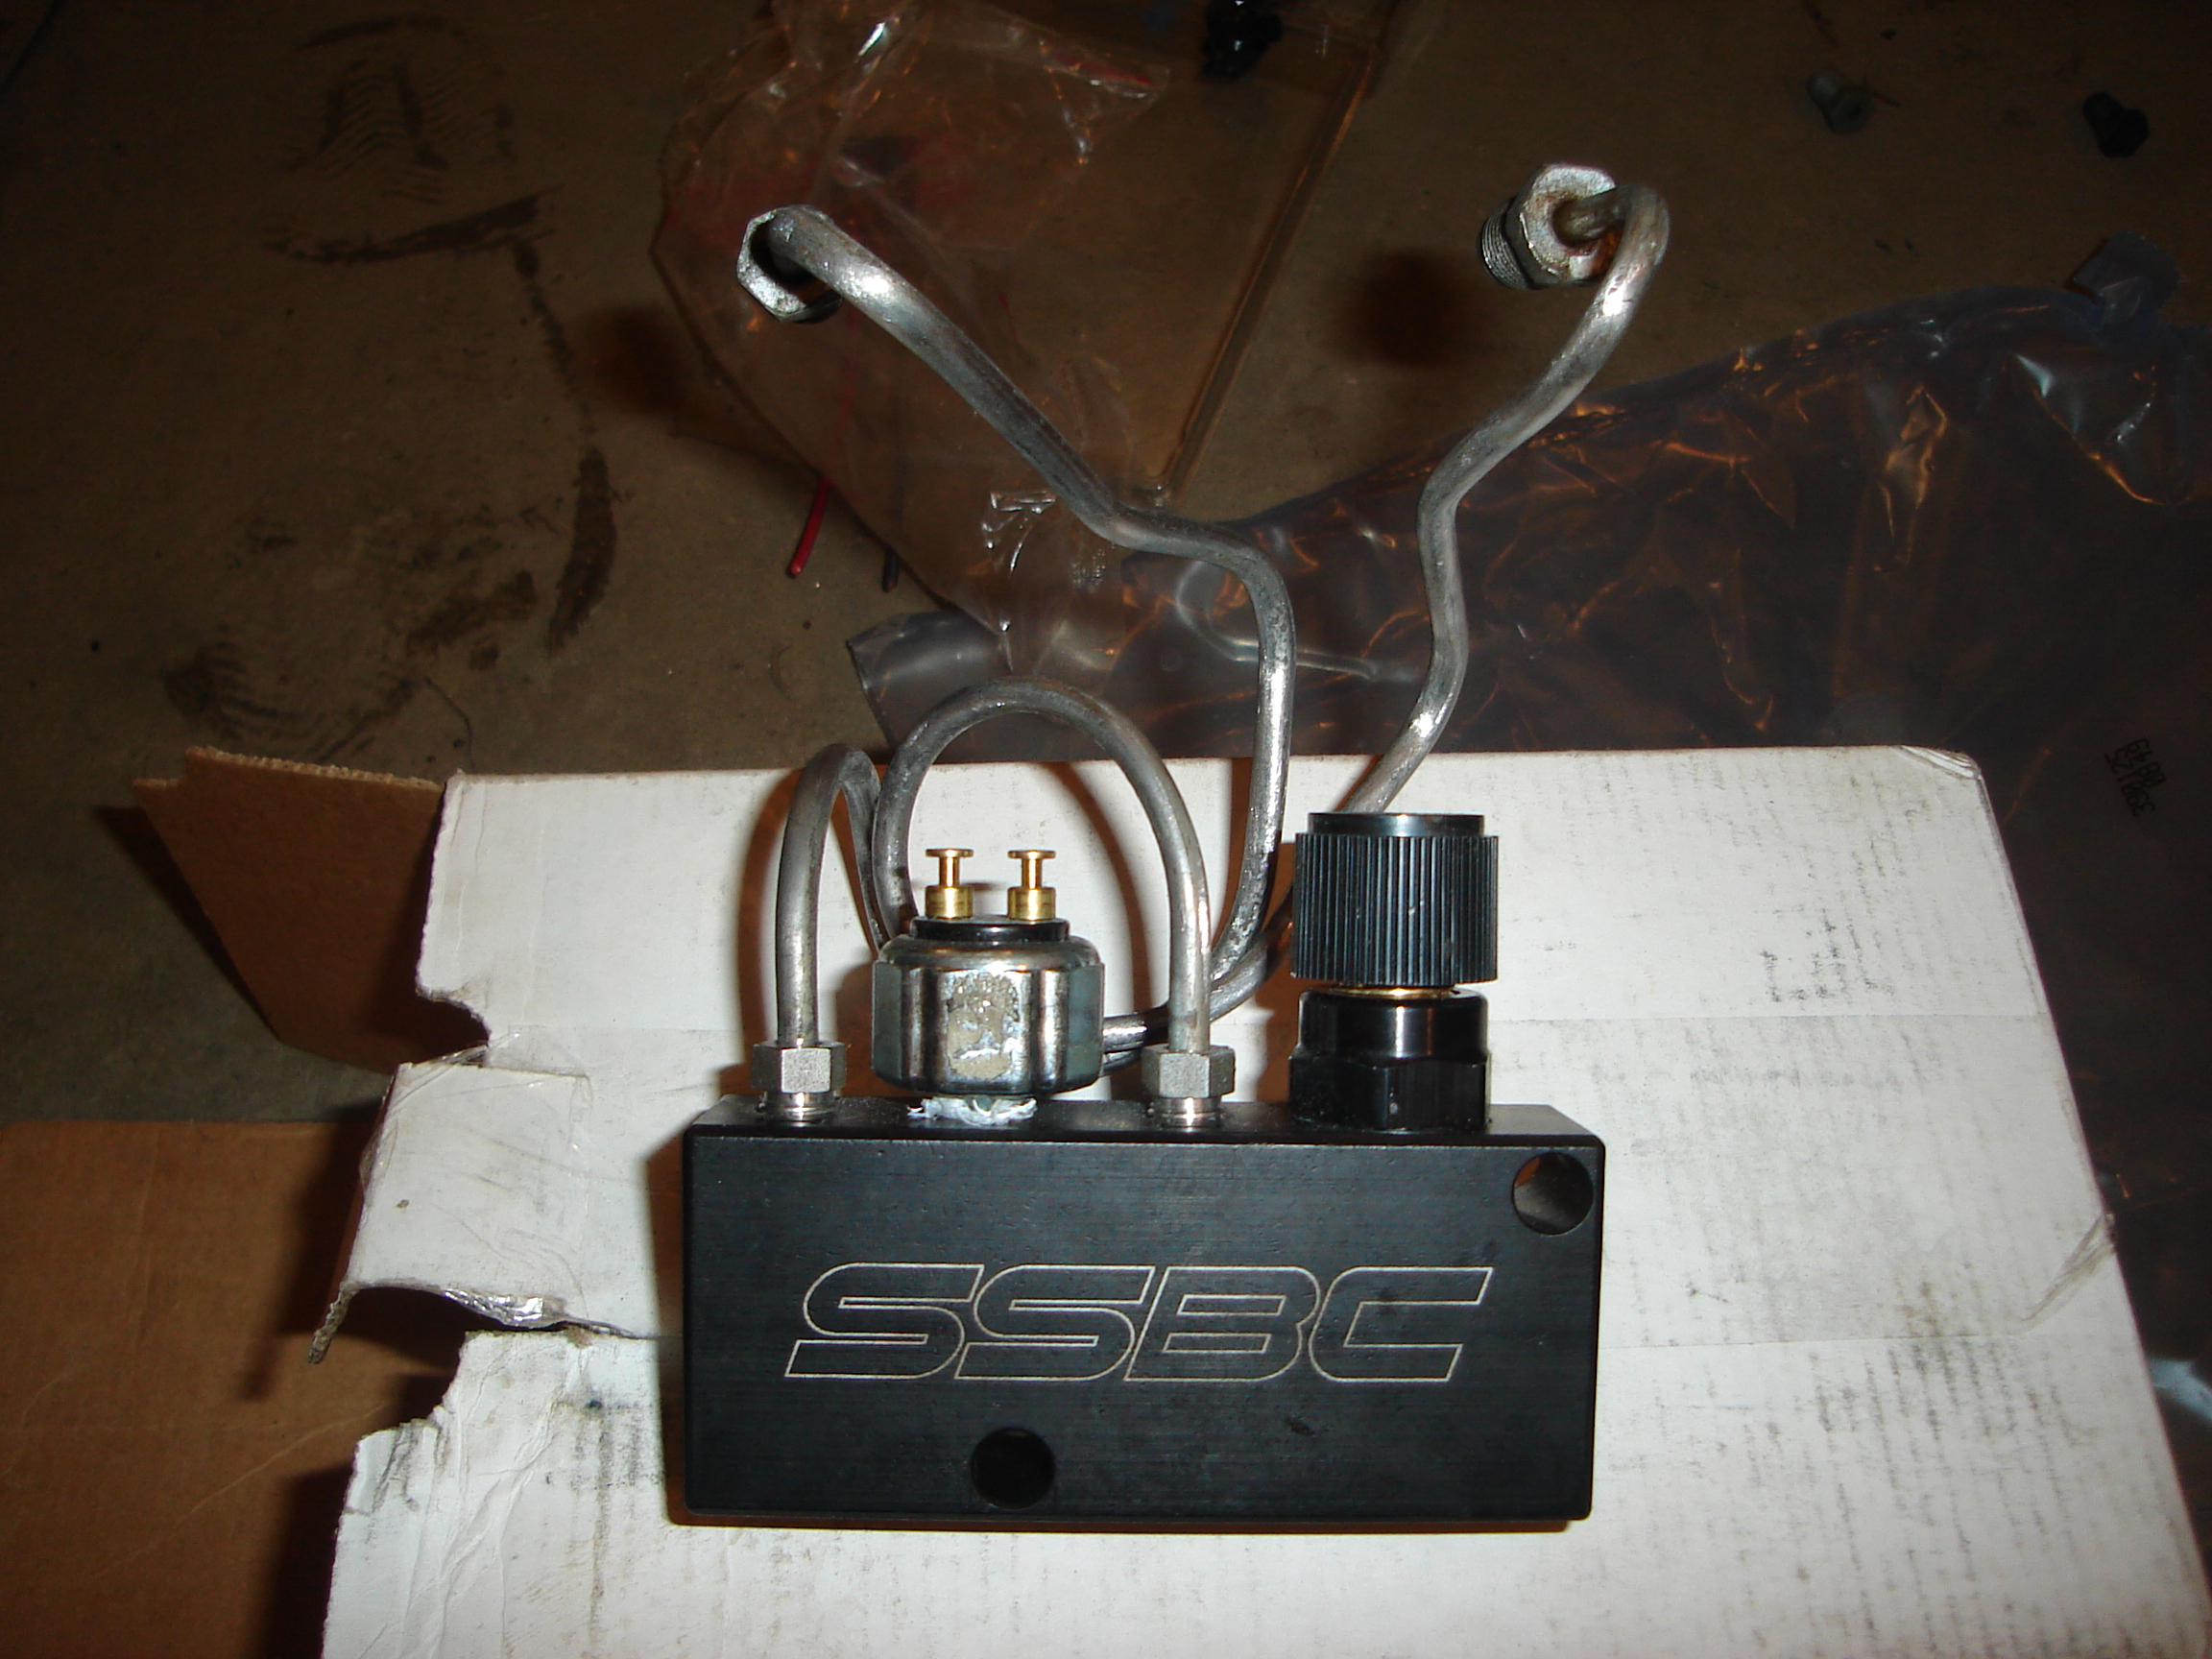
My friend however, found a better solution! He found this very impressive piece by SSBC which replaces your factory valve and no T-fittings, extra valves, no gutting are necessary.
The SSBC unit has 2 inputs, one for the front brakes and one for the rear, just like our new 1993 Cobra Master Cylinder. It also feature 2 front outs (one for each side) which flow direct. Finally, the unit has 1 rear out which is controlled by the adjuster, making this piece an “all in one” solution. It even features a brake light switch if you can believe it. This piece I believe was upwards of $150 but considering the ease and simplicity of install, worth the money.
There was a bit of flaring involved in this process to have all the right ends on the lines, some bending and shaping of the stock lines was needed also. After everything was flared and bent I was left with this prior to installation of the other components.
Finally it was time to install our new items! Be careful to put some rags down to avoid brake fluid from getting on your paint. The install was straight forward and everything went together well. I did have a bit of a leak from one connector at first as I didn’t notice it had a single flare instead of a double that was needed. After a new flare, it was a success.
Finally after all the connections were checked for leaks, I had a friend come help me bleed out the system. Starting from the furthest point from the Master Cylinder and working closer (Passenger Rear, Drivers Rear, Passenger Front, Drivers Front). I used DOT4 synthetic fluid as I had it in the shop, and very pleased with the outcome. Once the roads are nice it will be time to take the car to an empty parking lot and get the setting on the proportioning valve set for the rear brakes to make sure they don’t lock up before the front.