Automotive Interior Dye: “How To”


Tags: Automotive interior, customize, Duplicolor, Dupont, Dyeing carpet, dyeing headlinger sun visors, headliner custom suede, Interior Dye, Interior Paint, Krylon, Rust-o-leum, SEM, VHT

Tags: Automotive interior, customize, Duplicolor, Dupont, Dyeing carpet, dyeing headlinger sun visors, headliner custom suede, Interior Dye, Interior Paint, Krylon, Rust-o-leum, SEM, VHT
I do like the satin more but just a personal preference.
I have a 2003 supercrew. Also how did you like the end result with the satin finish compared to the matte?
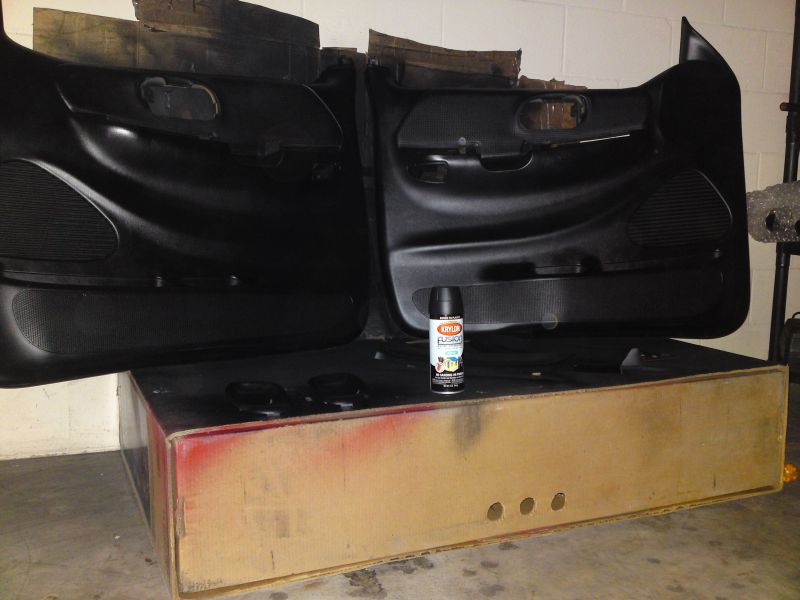
I used satin paint instead of gloss!
Hi Eli,
Which vehicle? If I don’t have a DIY I can at least help point you in the right direction.
I’m planning on painting my interior, do you have a step by step on removing the dash?