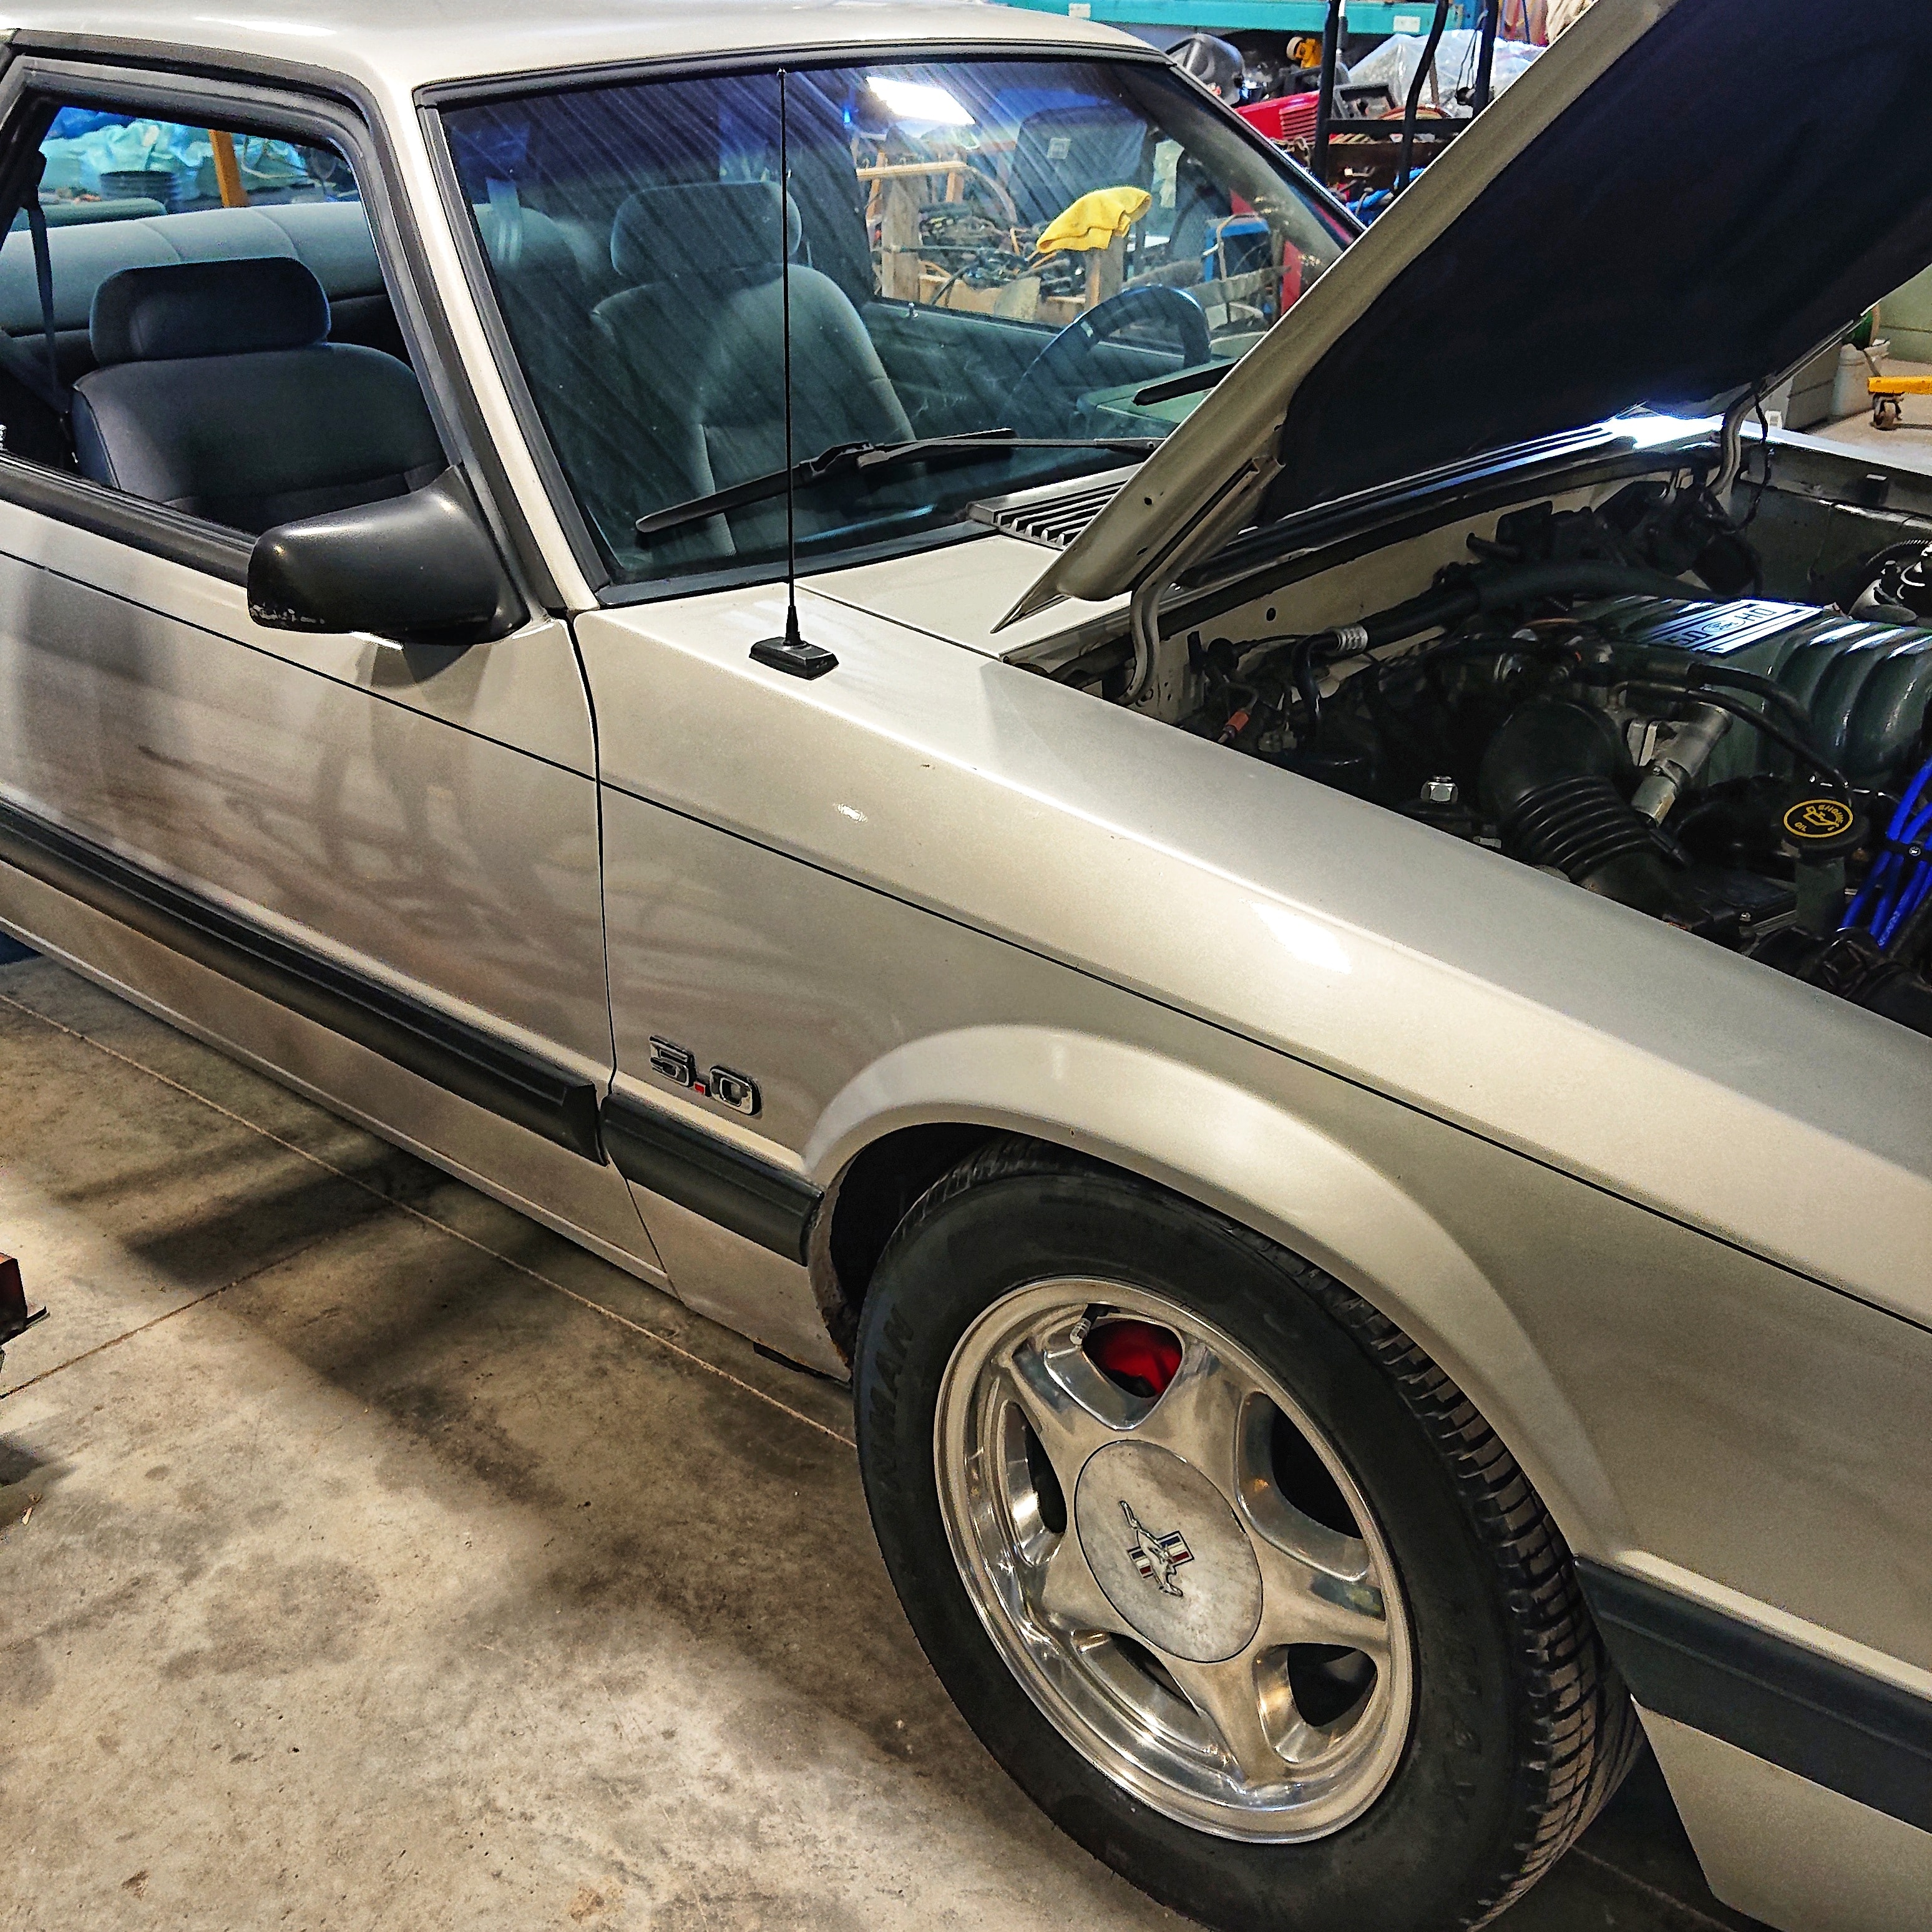
Foxbody 5.0 SWAP Project “4-2-8”
A v8 5.0 swap is nothing new in the existence of the Foxbody Mustang. Over the years it has been numerous times and there are a number of variations and ways to do a Foxbody 5.0 Swap. As I have recently completed Project 4-2-8, I figured I would document the process and options for you. In this post I will share a number of videos documenting the project and the whole v8 conversion process. Before we get started let’s have a look at why a 5.0 Swap is a viable option now in 202X.
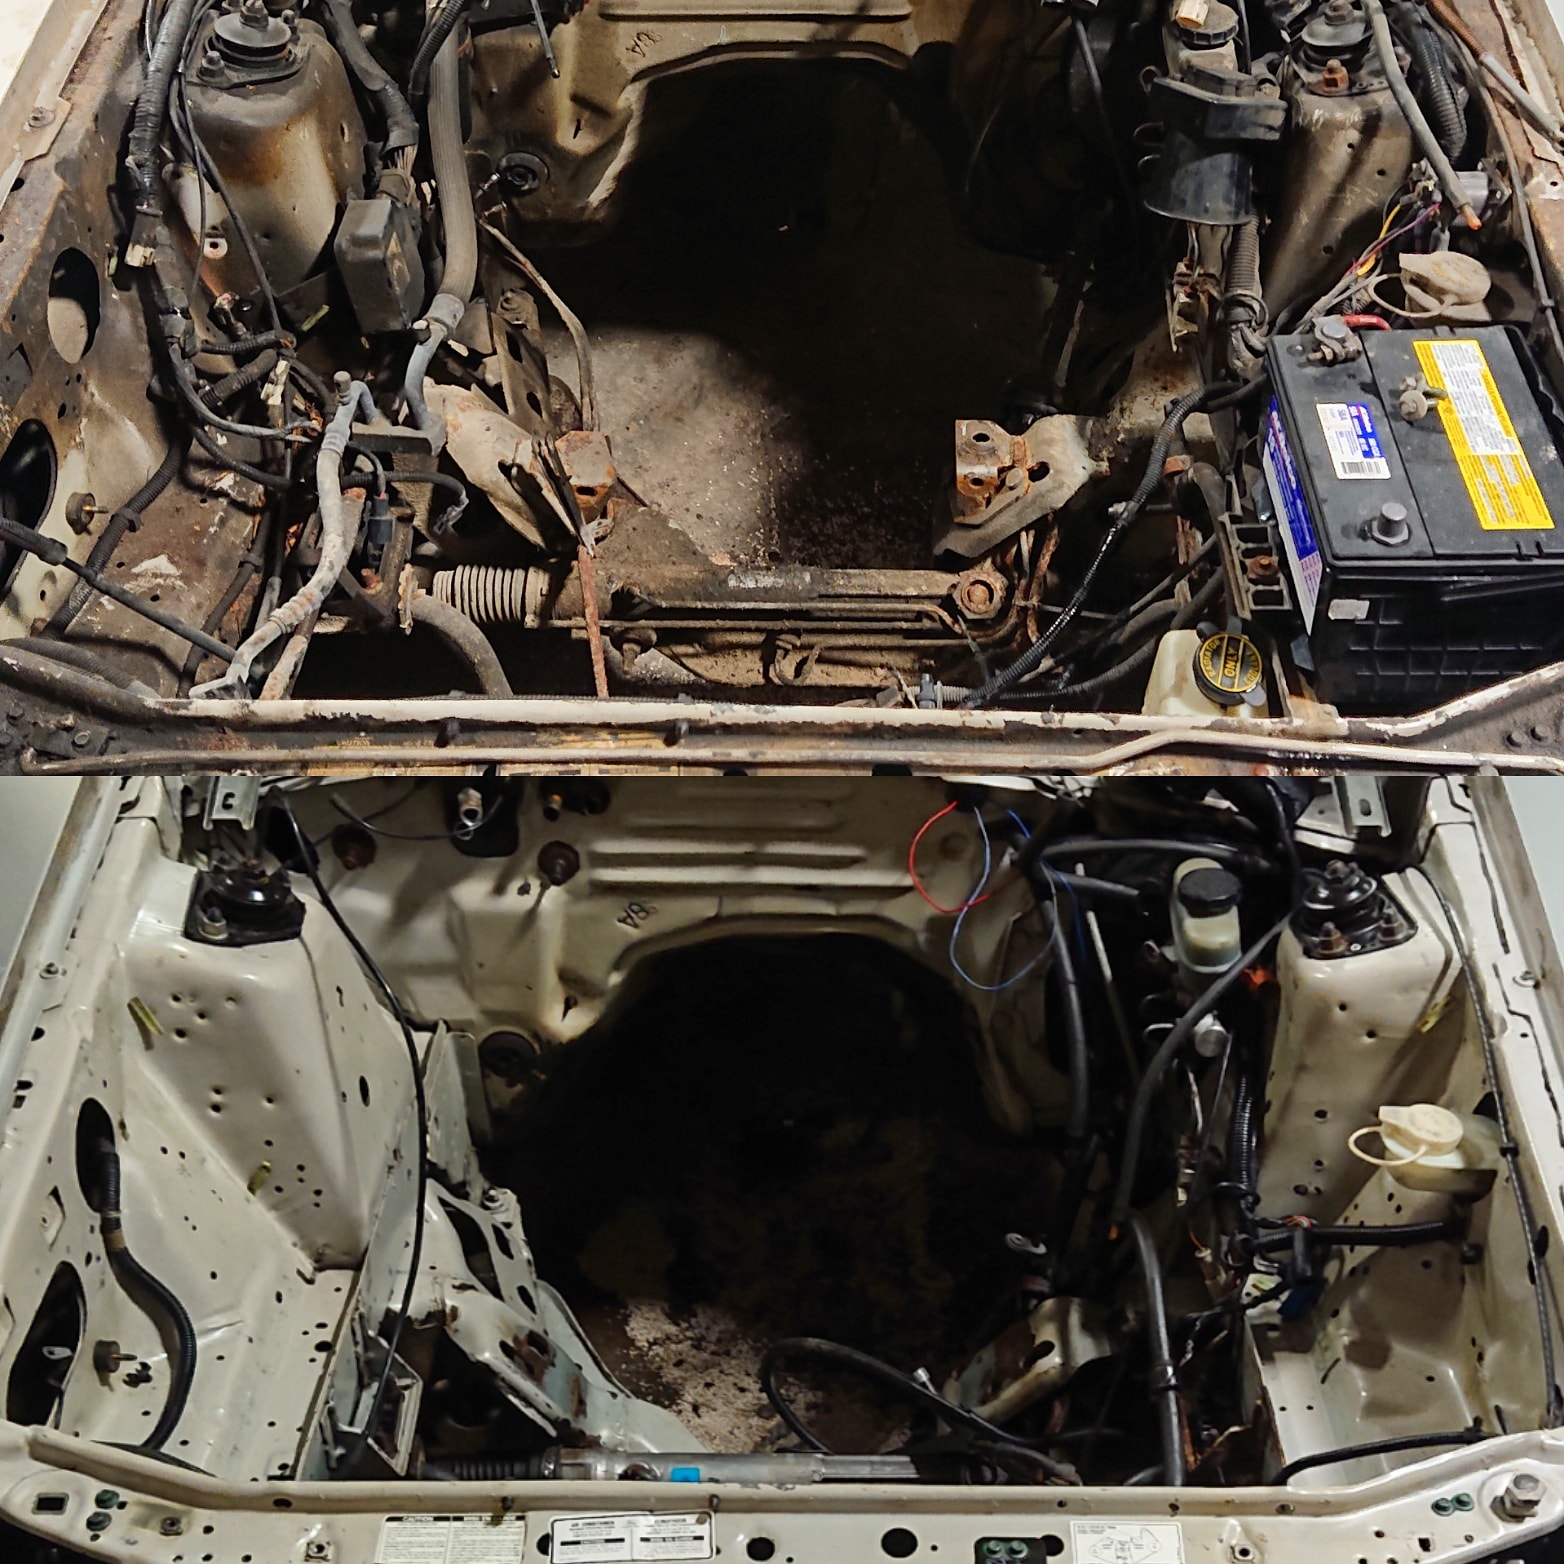
The desirability of the Foxbody Mustang has increased considerably over the past decade. Coupled with increased age and a lower supply of un-abused options, the Foxbody 5.0 has become a more challenging car to find for many. With an older population with more established bank accounts many want to relive younger memories of a Foxbody. A four cylinder Mustang was always an attractive option being priced lower and the same holds true today. With original 5.0’s drying up, a 4 cylinder as long as the body is clean can be a great option for a Foxbody 5.0 swap.
A few questions about your Foxbody 5.0 Swap:
- Do you want a STOCK more OE look/performing car?
- Do you want a Modified car?
- Manual or Automatic Transmission?
- Carbureted or EFI ( Fuel Injection)?
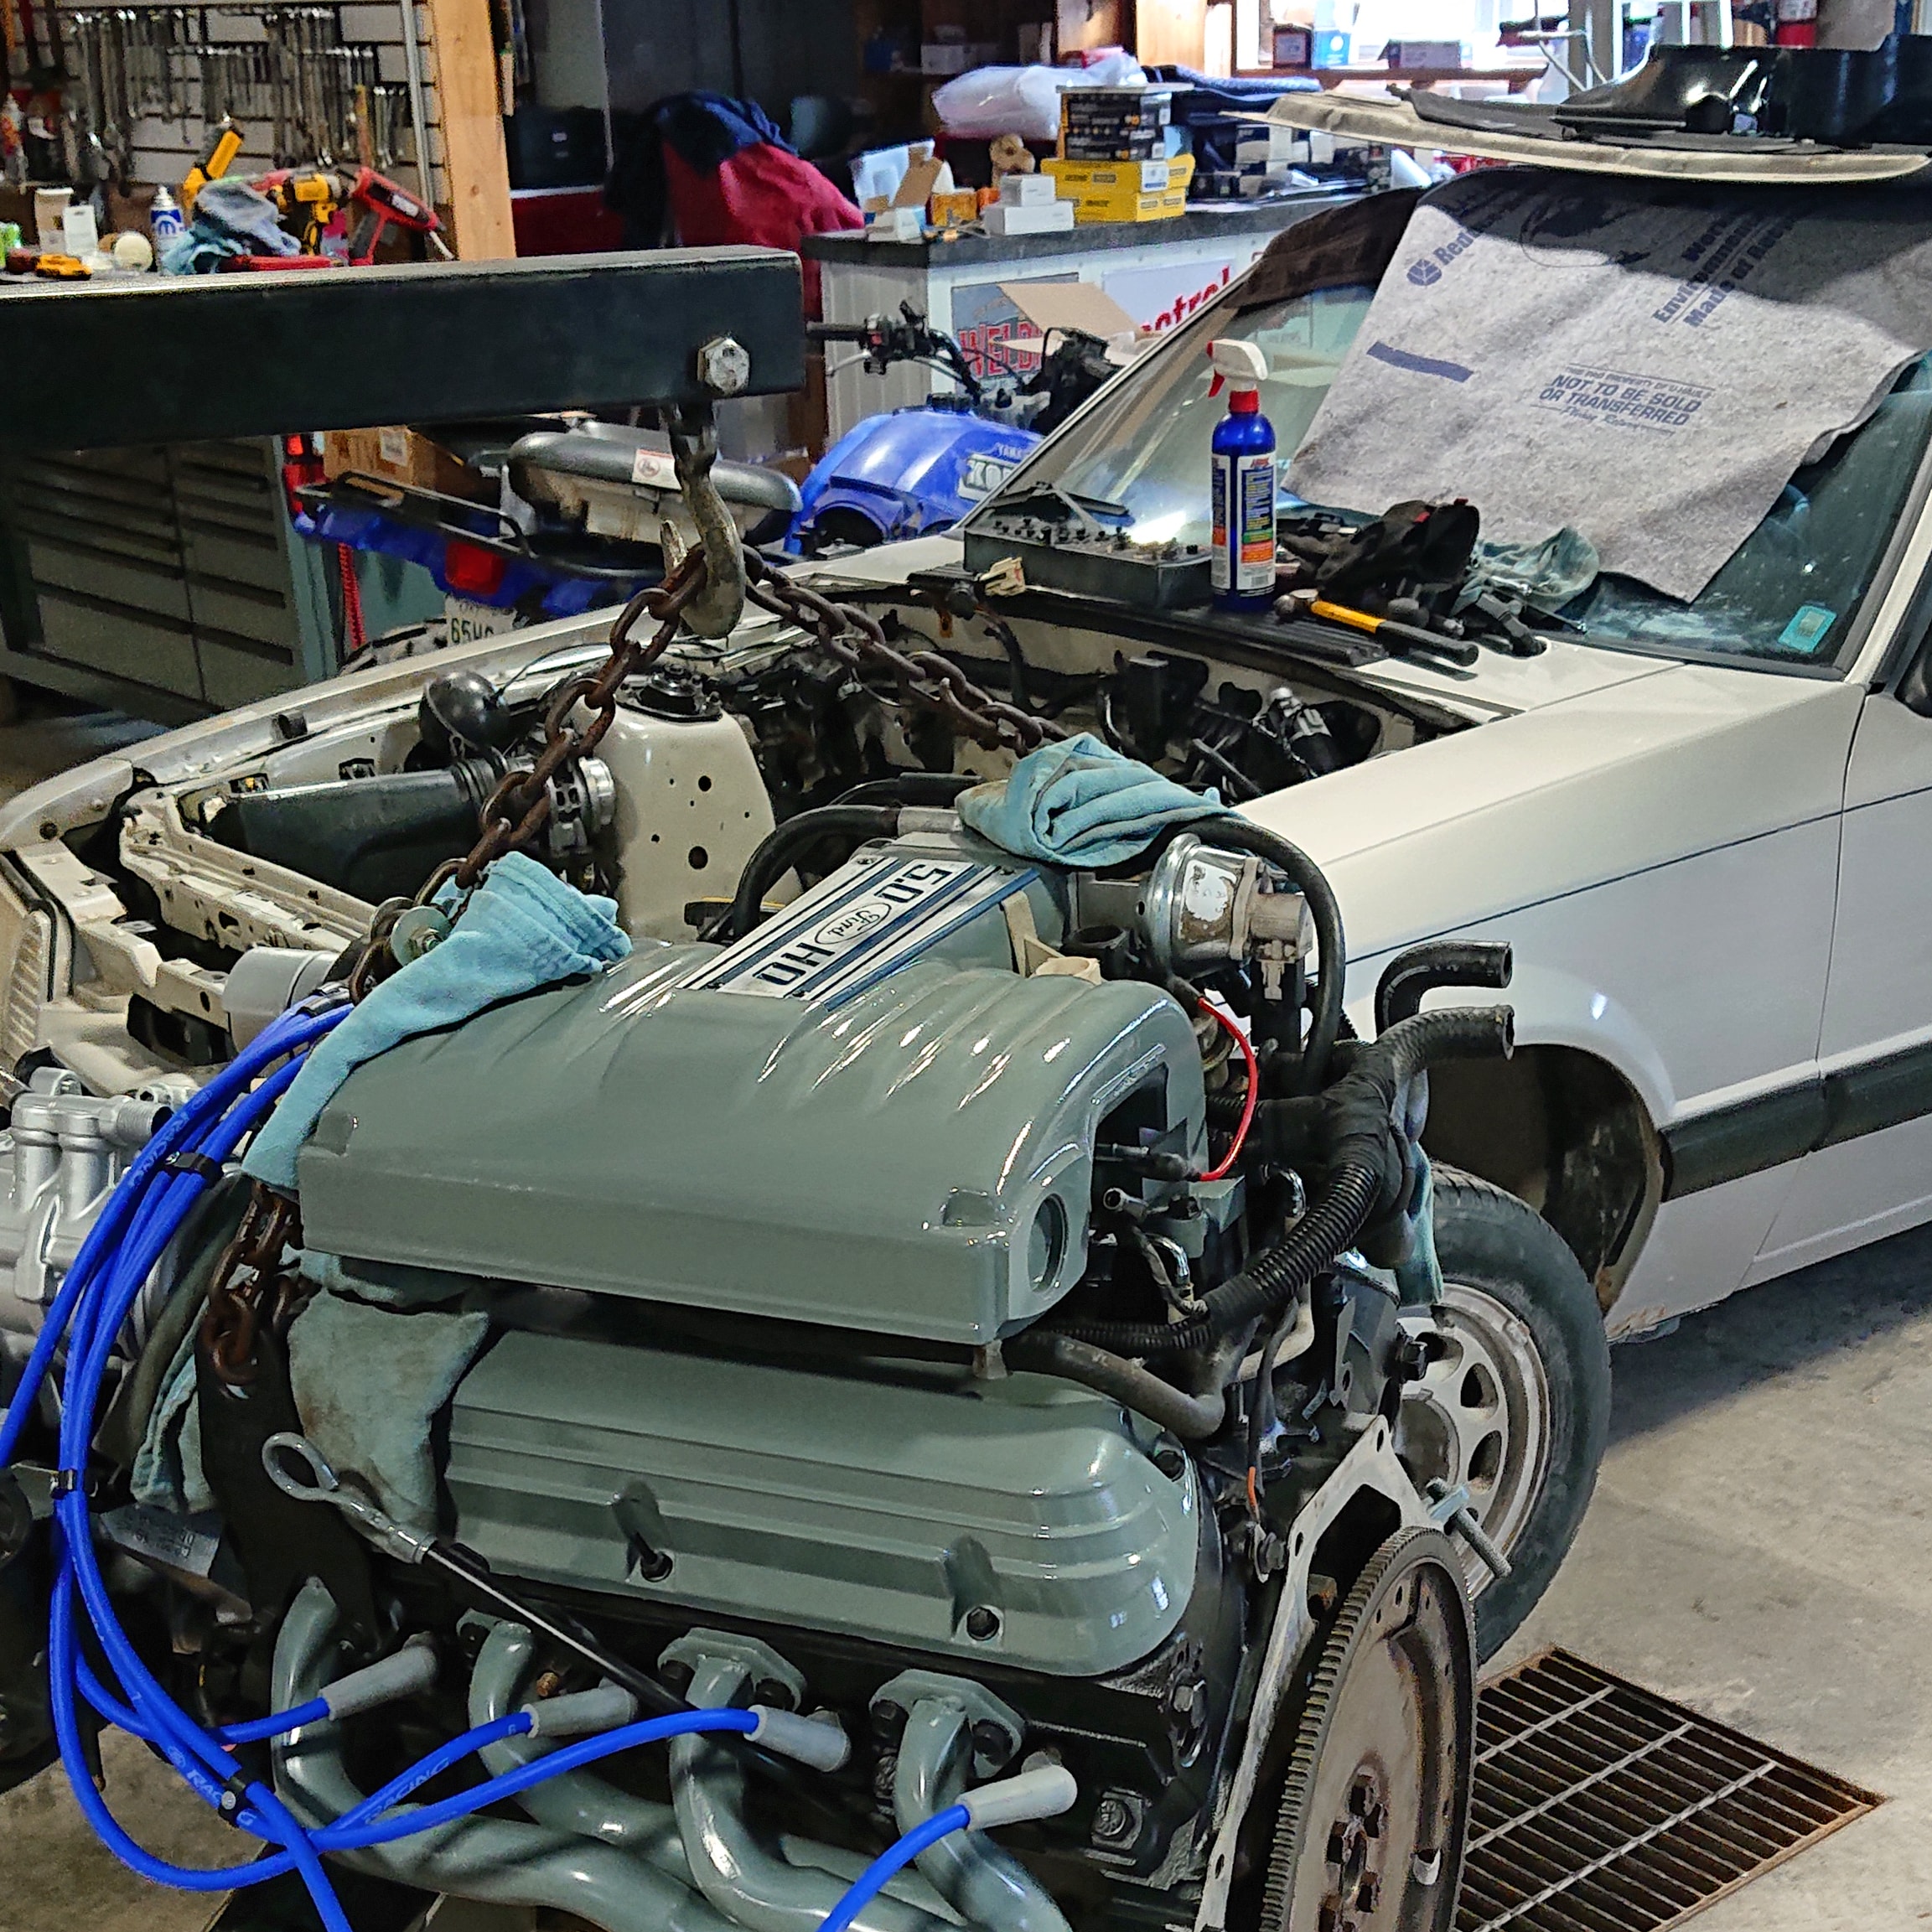
Many resources exist online about Foxbody 5.0 Swaps such as this one by LMR https://lmr.com/products/Mustang-4-Cylinder-V8-Conversion-Foxbody however this is very general. In my videos you will see that there are many parts you can possibly re-use and/or replace in stages such as brakes and suspension. It all depends on what it is you are trying to achieve. The most important part to consider especially if you are going EFI, is the wiring.
Foxbody 5.0 Swaps can seem quite intimidating and it is important to have a checklist of what you need and a plan for your project. One of the largest things being the wiring must be considered first. Based on what year your Foxbody is you will need to find a good donor car for parts! It is ideal to find a donor car from the same wiring year range. Take a look at the list below for examples. Getting the right wiring harness will save you a lot of head aches unless you are going Carb or Stand-Alone.
You do NOT need to change the complete cars harness! If you have the right donor all you need is the harness which goes to the main ECU (Computer). This harness runs along the firewall and connects to the starter solenoid. The main connector variant is found behind the drivers side strut tower which plugs into the cars (body) harness. This/these connectors are the ones which will control your dash cluster gauges. Therefore, take a good look at the list below to see which years of donor cars will work best for you.
Wiring Options
Pre-1986 = All Wiring is the same
1986 = One year only Harness
1987-1988 (Except California Cars) = Same Harness
1988 (California Cars Only) -1989 = Same Harness
1990-1991 = Same Harness
1992-1993 = Same Harness
Why are the all different? Well options changed over the years like in 1986, the first year of Fuel Injection. 1987 is when the body change to the AERO design came. 1989 (1988 in California) was the introduction of Mass Air. Air Bags came out in 1990 followed by a fuel pump relocation in 1992. Therefore all of these variants change the wiring components. One harness which remained untouched from 86-93 was the fuel injector harness which plug to the “Salt & Pepper” connectors to the main engine harness.
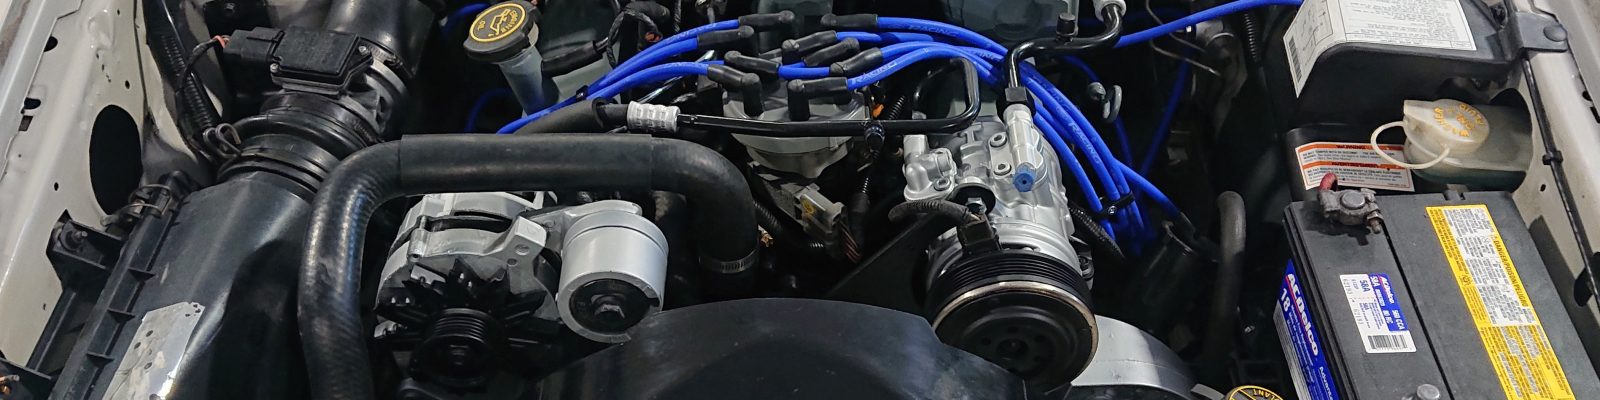
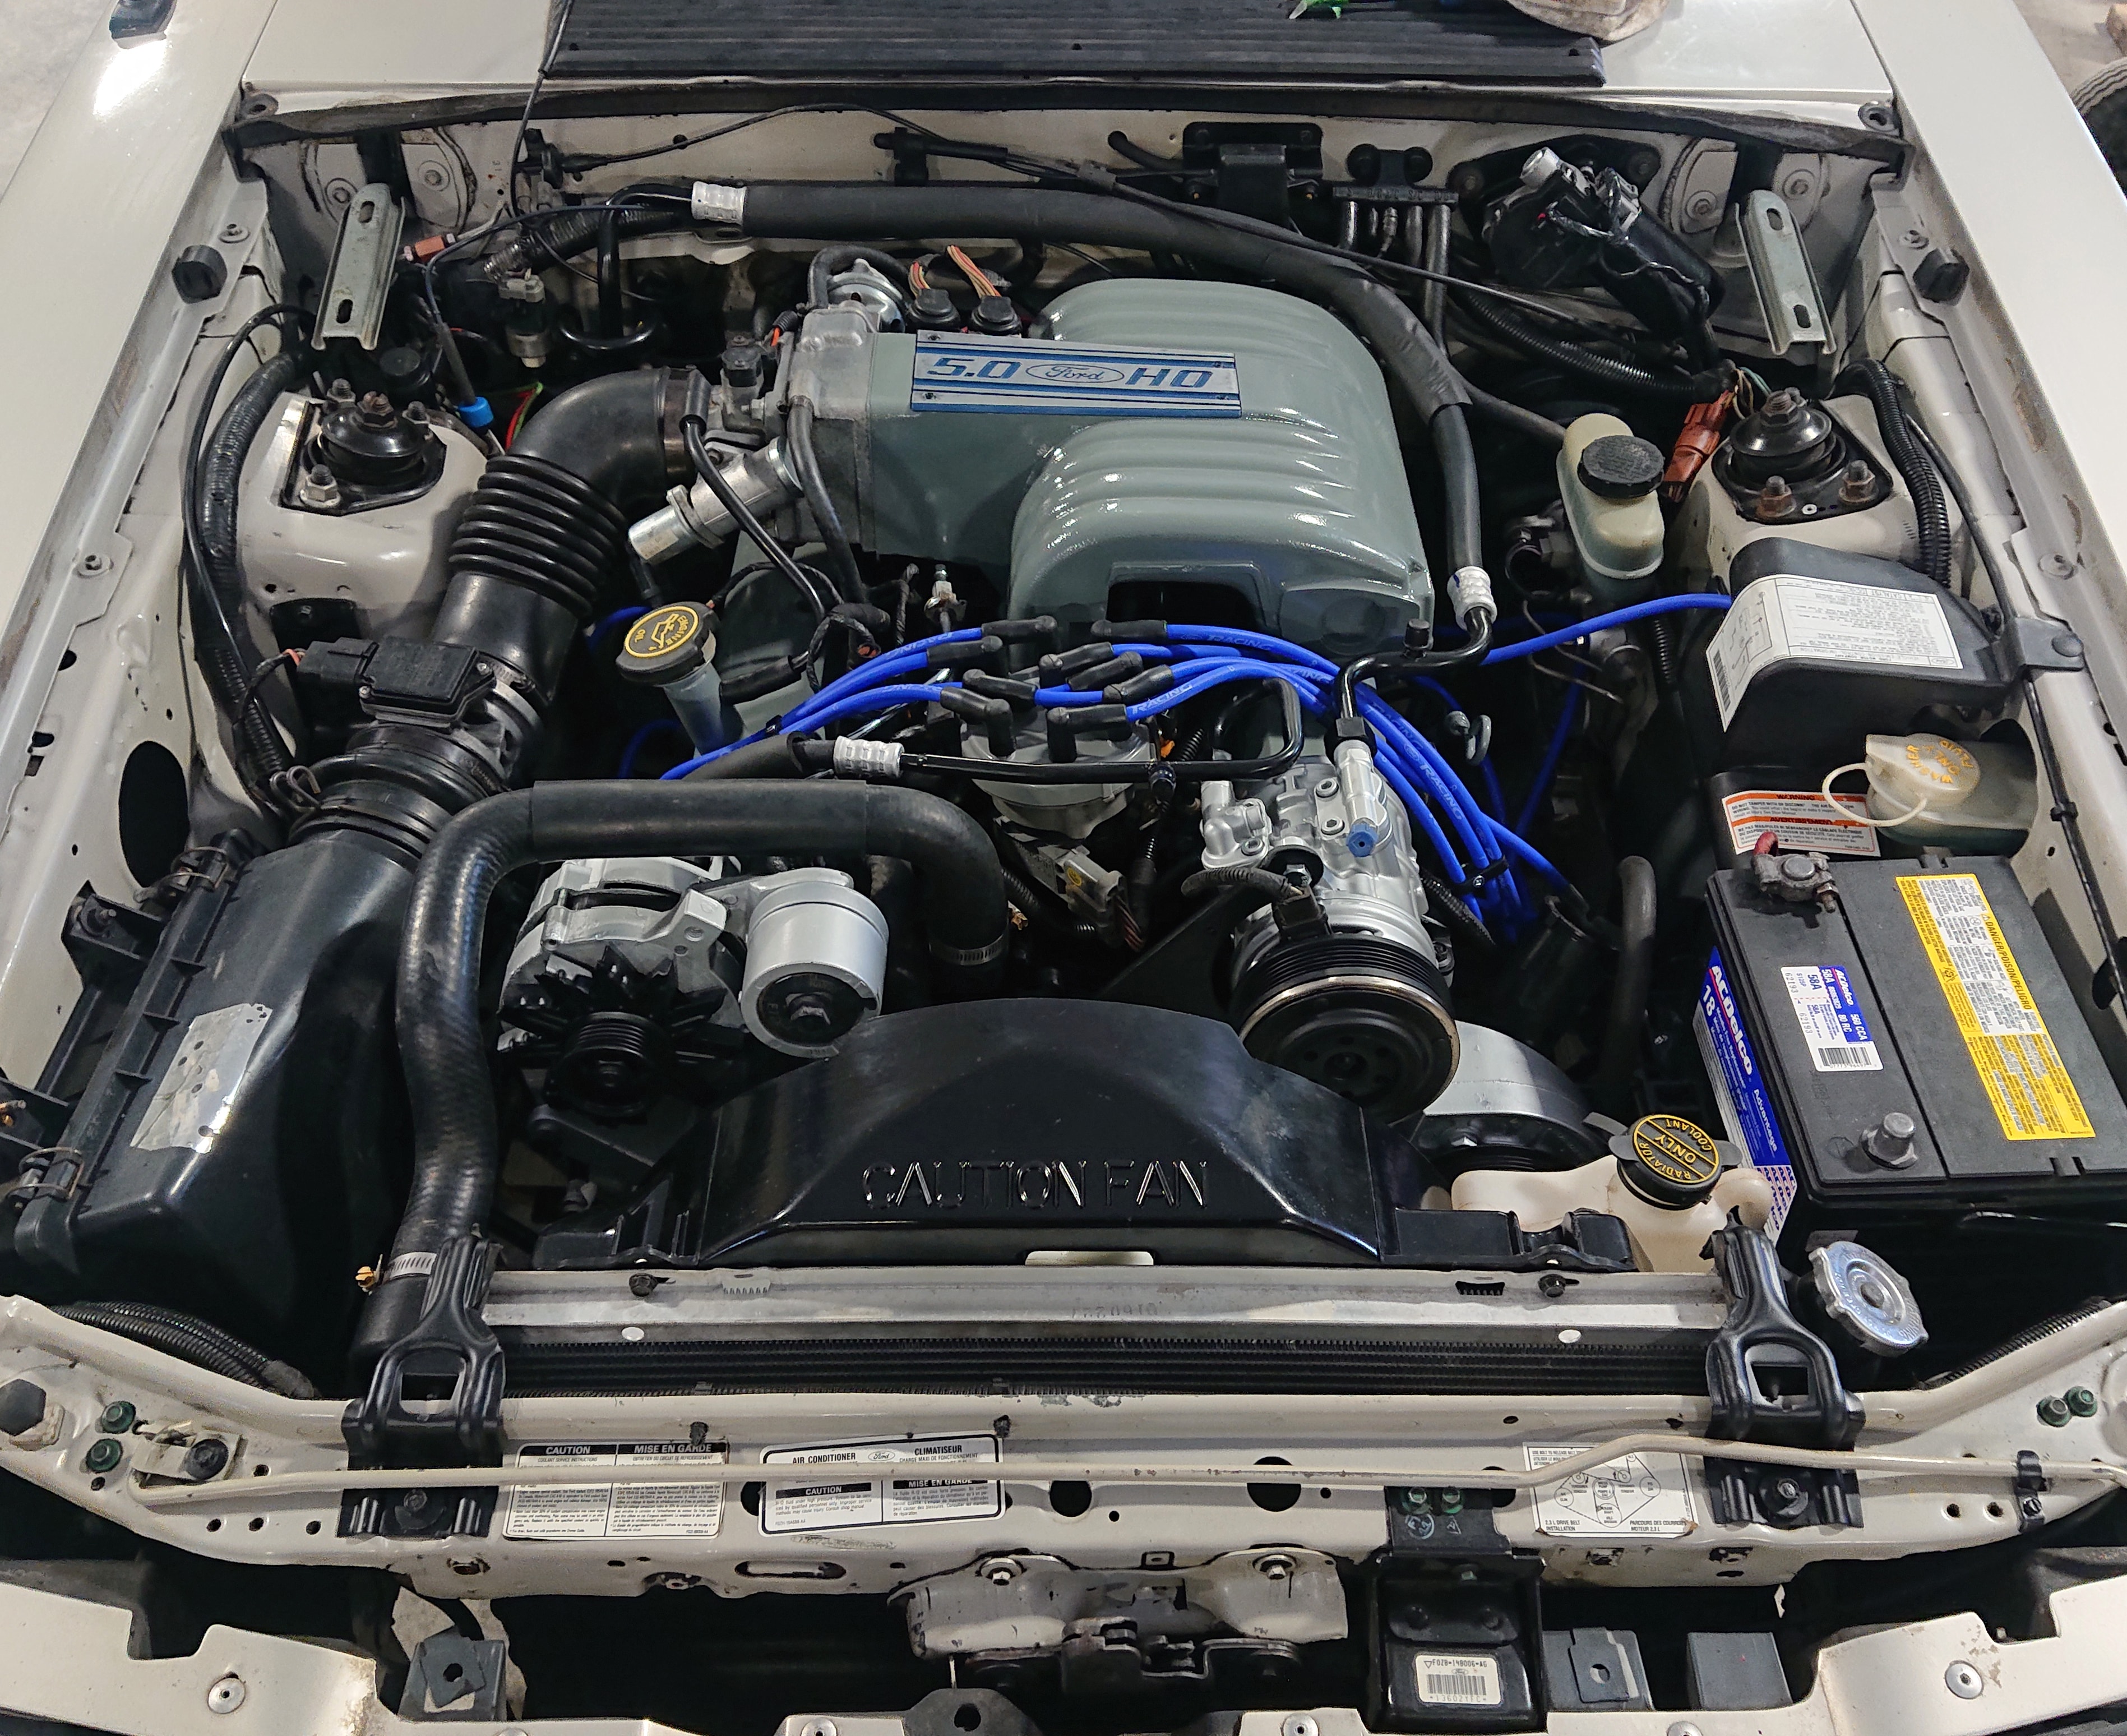
Finally, for the 5.0 Swap you will need to either extend, or replace via donor the alternator wiring harness as it is situation on the opposing side of the engine bay.
ECU – Computer Options
For carbureted swaps, you can ignore this part. Otherwise depending on your donor and transmission desires it is important to note the following:
- Manual A9L computers will NOT work with an Automatic Transmission
- Automatic A9P computers WILL work with BOTH Automatic & Manual Transmissions
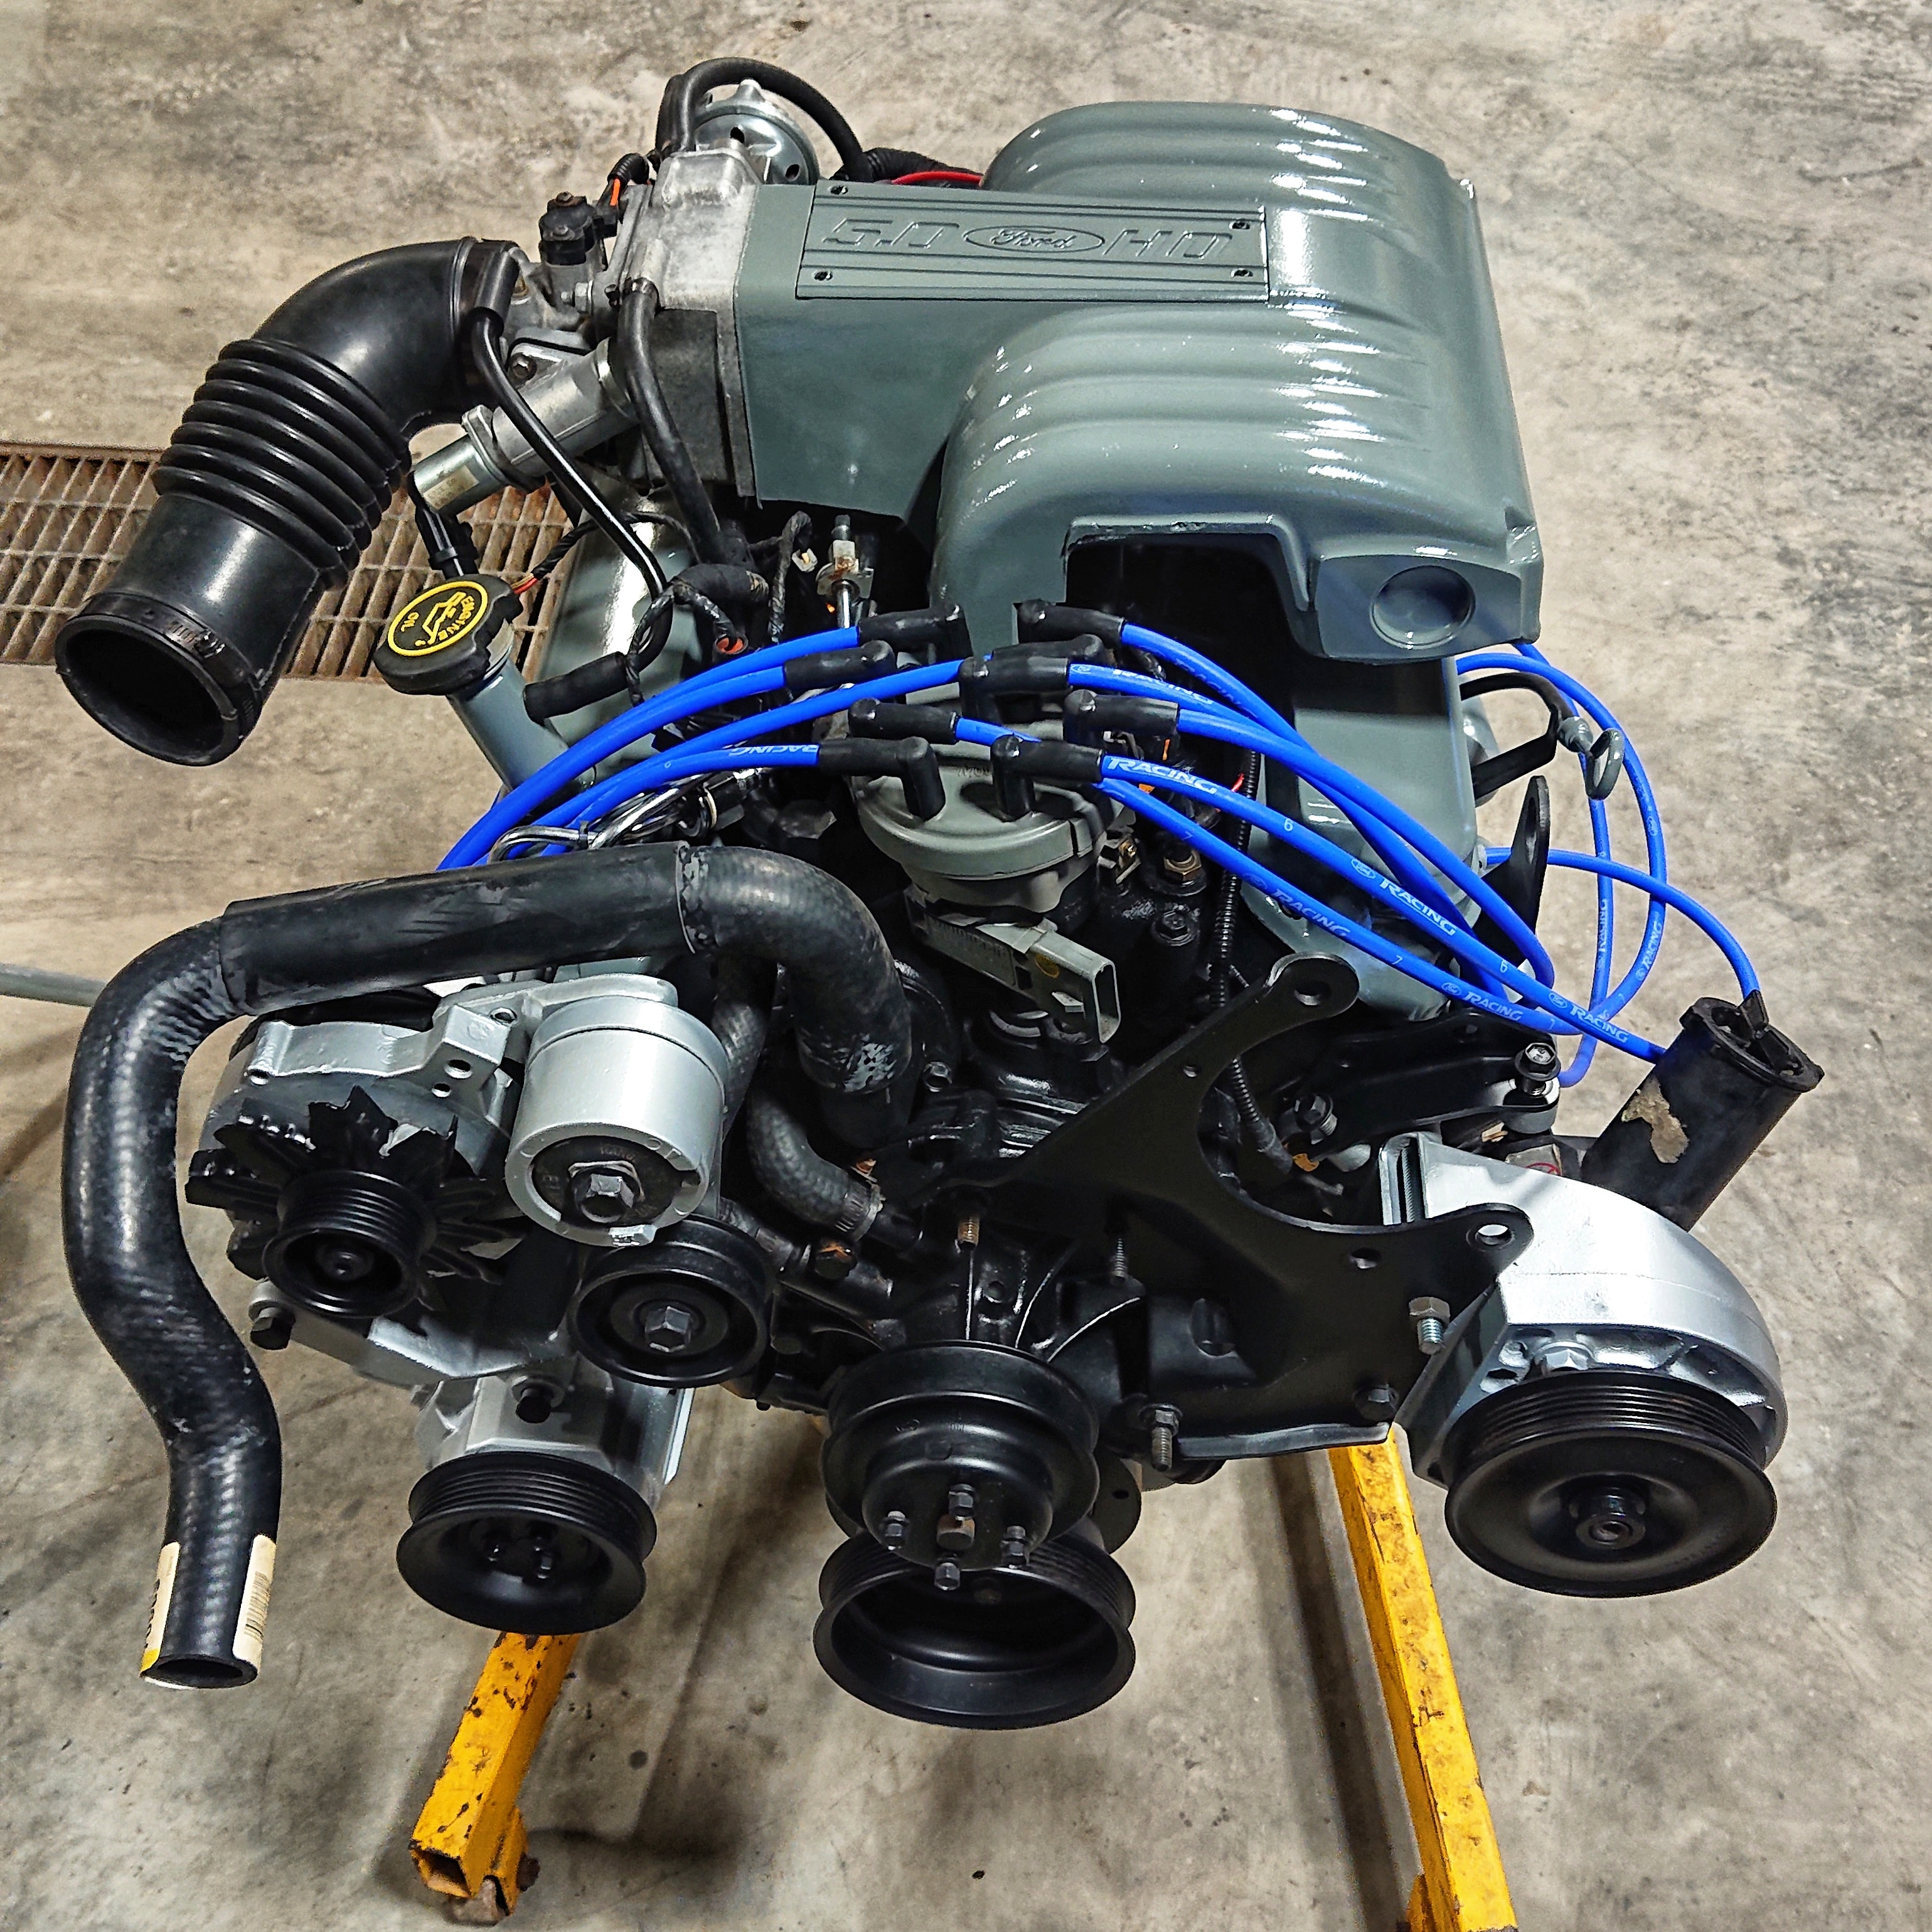
5.0 Swap Motor & Transmission Options
When it comes to motor options, there are many options out there. For the purpose of this Blog we will consider Small Block Fords (SBF) which came during the following year ranges. Generally speaking the following ranges will work just fine with your potential conversion. Whether or not you want Carbureted or Fuel Injected it is also possible to convert either option however you will need to change appropriate, wiring, intake manifolds, distributors and fuel systems.
1979-1985 = All Carbureted Motors will work
1986-1993 = All EFI Motors will work
If your Foxbody 5.0 Swap will be Automatic, you will need a Ford AOD transmission and you will need to upgrade the transmission crossmember, driveshaft, kickdown and gear selector cables. If you choose to have a manual, you can use a 4 cylinder T5 which is actually only rated for 15ft/lbs or torque less than a 5.0 T5. Note you WILL need to change the pilot bearing as the input shaft diameter is smaller. A 1990 Mazda B2200 manual truck bearing will work in place. In addition you can re-use the smaller 4 cylinder manual driveshaft although it is advised to upgrade to the larger 5.0. If you opt for the 4 banger transmission, you will also get a higher gear ratio upgrade, similar to 3:73’s.

Suspension & Brakes
You will have a tremendous amount of options depending what your plans are here. One important thing to note is that from 1979-1986 = All the same suspension and brakes as 1987-1993 4 Cylinder Cars had. It was only the 1987-1993 5.0’s that received upgraded spindles/brakes. Therefore you may or may not choose to upgrade your brakes to the 87-93 style or maybe you will opt for a 4 wheel disc / 5 bolt conversion for your Foxbody 5.0 Swap project. All of the K-Members are the same and will accept your 5.0 motor with the appropriate motor mounts without issue. All 5.0 cars did however come with an 8.8″ differential which is your choice to upgrade or not.
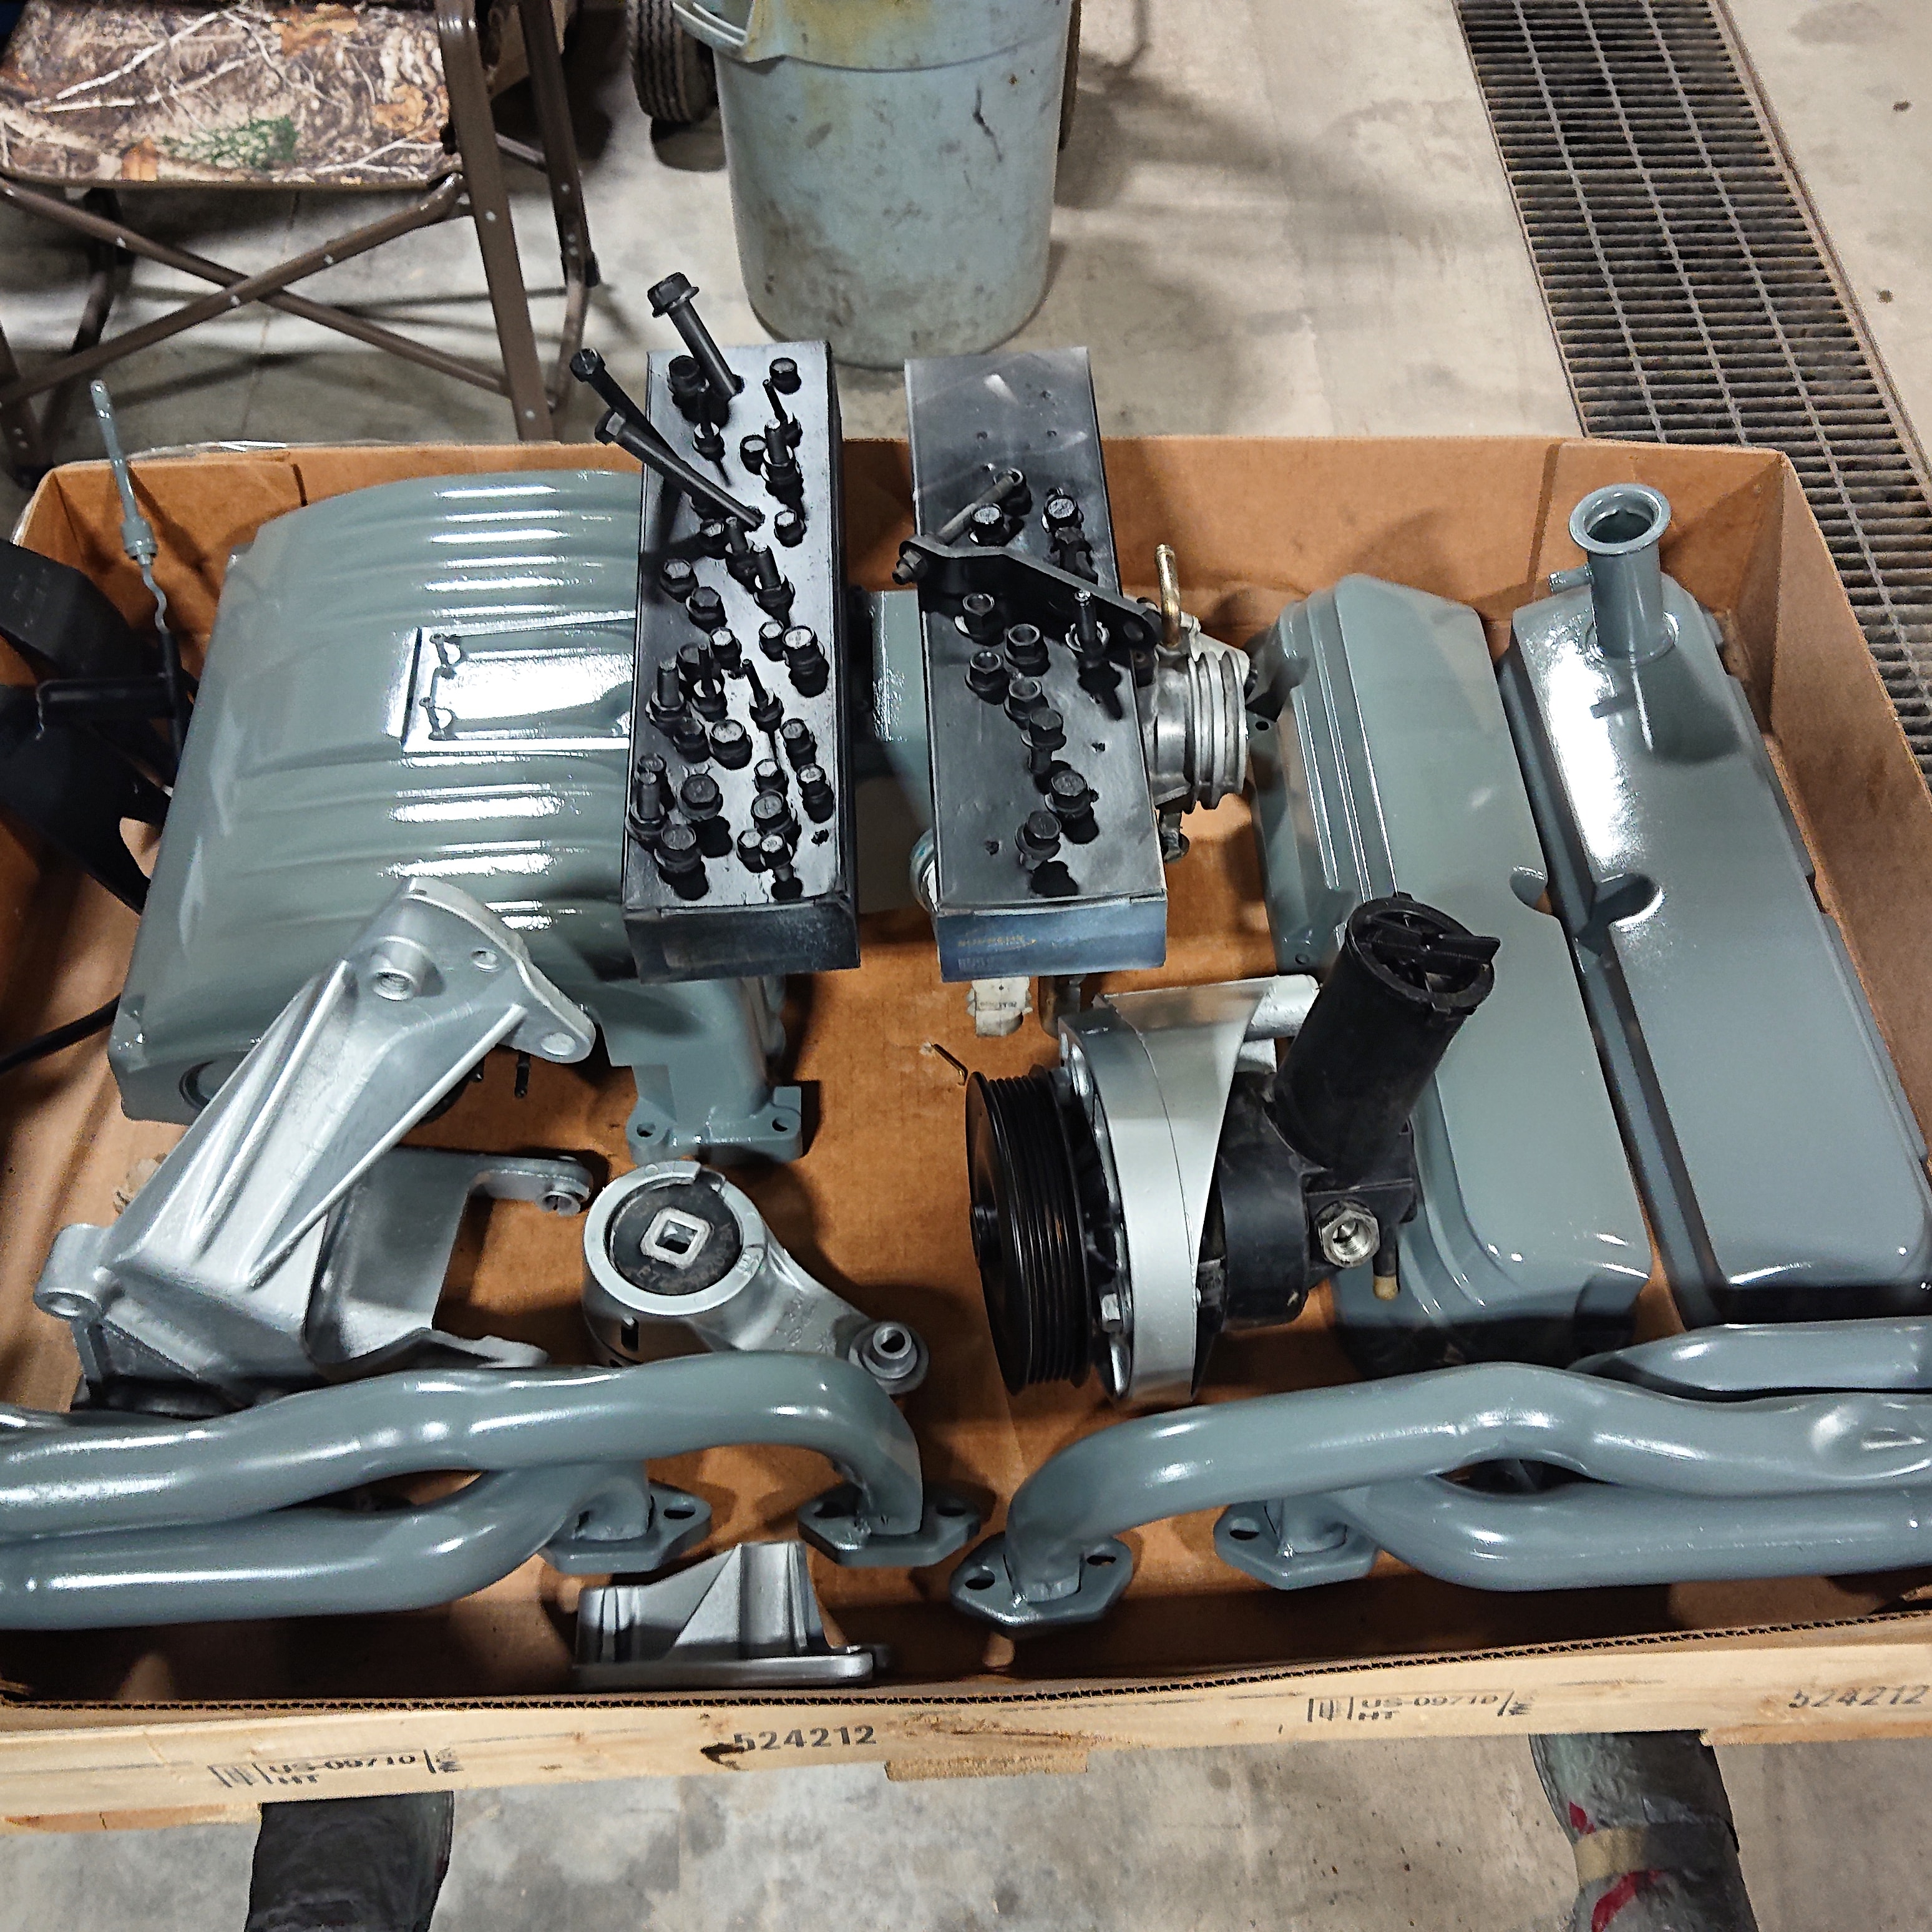
What parts can be re-used?
- K-Member
- Starter Motor
- Manual Driveshaft (if manual to manual)
- Manual Transmission (if pilot bearing changed to 1990 Mazda B2200)
- Brakes / Suspension if you choose not to upgrade
- All Control Arms
- Alternator
- Power Steering Pump (but not the bracket)
- Radiator (Electric fan can be wedged in there but recommended to upgrade)
How-To Videos!
 Subscribe to TIP
Tags: 5.0 Swap, Foxbody, v8 converision